Monday 27 August 2012

Camping Re-Cap

I'm back off vacation : (  Actually I've been back for a few days, but cleaning up, doing mountains of laundry and all of the other not so fun real life stuff.

I had intended to post while I was away, but I didn't have reliable service to I was pretty much unplugged for almost two weeks.  Aside from not being able to write every now and then - I didn't mind the reduced screen time.

We camped - in a tent trailer - so not 'real' camping, but I don't think I would have lasted the first week if I was only in a tent.  We had intended to camp in Bonnechere Provincial Park for the first week then head to Driftwood Provincial Park for two nights and round our trip out with three nights at Arrowhead Provincial Park.... but our plans changed.

We started off our first week in Bonnechere - it was beautiful...  I was also very well displined exercise wise... I ran 5k every morning and swam for about 20-25 minutes.  The beach at this park was perfect for kids and adults too.  We had a site with river access.  If I camp at this park again - I would only camp on sites with river access.
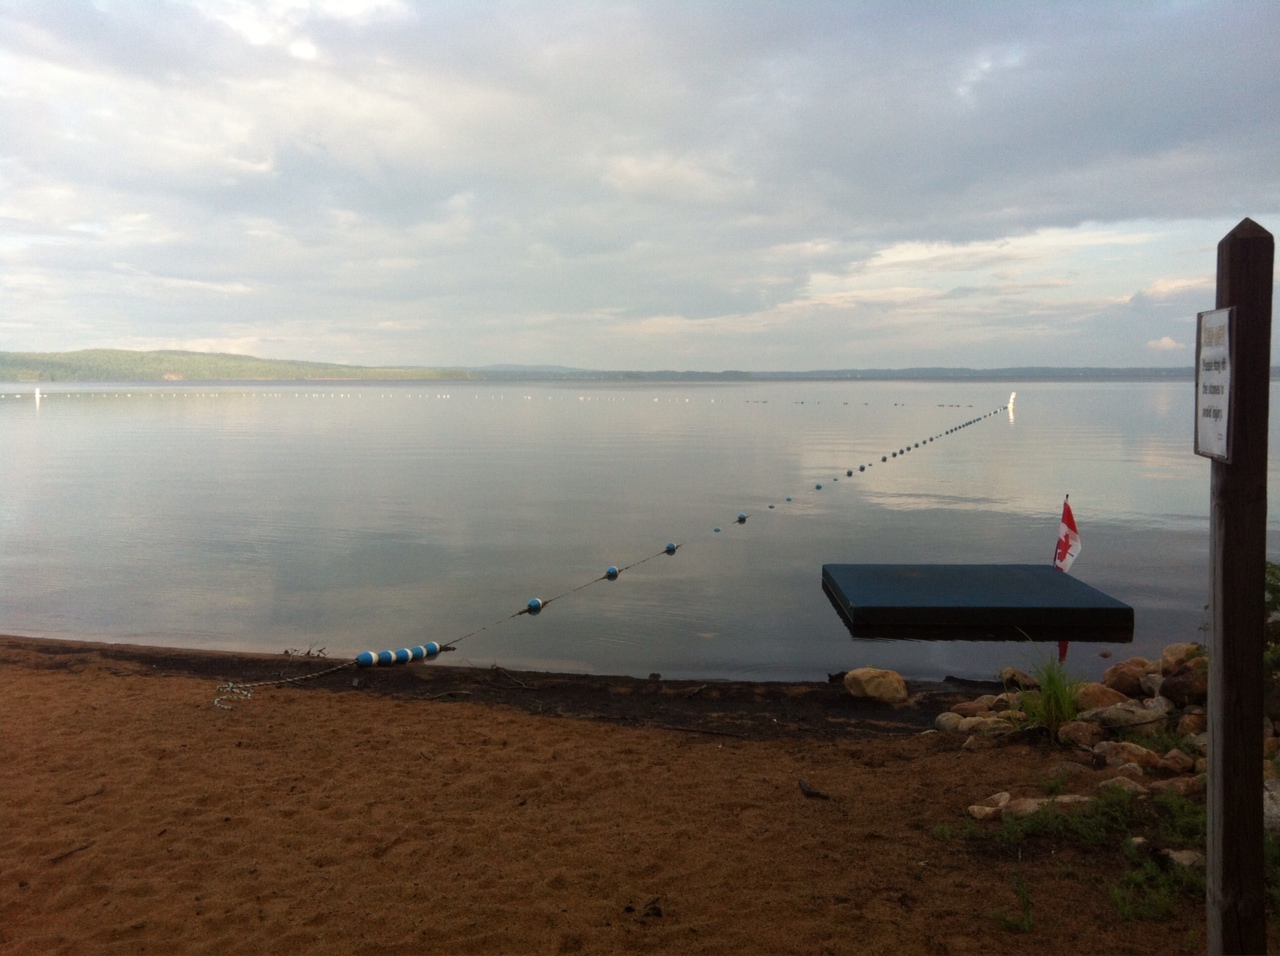
Bonnechere beach


The river was perfect for canoeing or kayaking in.  Also - although I don't partake - the girls and Dan had some great fishing.  They each caught several fish and different species.  The park is nice and small as well - you can easily bike or walk anywhere you need to go.

The next leg of our journey took us to just outside of Deep River at Driftwood.  Driftwood is located north of Algonquin Park and is on the Ottawa River, which resembles more of a lake than a river at the location of the park.  When we booked our original site months ago we made sure we had direct water access at our site, however, when we arrived there were issues with our site and caution tape was blocking our beach access.

We were quite disappointed and almost left a day early.... but after climbing over the tape we went for an early morning paddle and had coffee on the beach we changed our minds. 


 It was then when we realized what an absolute find this park was.  After a check at the main gate we switched sites - to a better location and stayed for the rest of the week.

This site was perfection.  I felt as though I was staying in a quasi mountain resort... can you believe my view from my picnic table! 


The girls were able to swim and play on the beach everyday - all day right from our site... and this was completely private. 


I'm not sure if its the distance or the time of year but for most of our stay we didn't have neighbours to either side.  It was so quiet.


Anyway paradise has been left behind and reality beckons... but this was the best camping vacation I've been on and I hesitate to say.... the most relaxing vacation I've had - ever.

Monday 6 August 2012

Long Weekend Wrap Up & Gluten & Sugar Free Peach Custard Pie

I am wrapping up a picture perfect long weekend with some pretty fun cooking and not so fun work - boo.  Yes - I have had to bring work home on my long weekend and have had pretty mixed feelings about where my priorities should lie... but that's another post for another day.

All in all - its been a great weekend.  It started with a terrific horse show...


My daughters were in horse camp this week and learned voltige of all things... I had no idea you could do gymnastics on a horse.  They had never been on a horse before this week - I am so proud of them!

And aside from my whine about working I did get together with friends for a pot luck...

We're a pretty difficult group to cook for - vegetarian, dairy and gluten intolerance's and diabetic... hey let's get together and eat air!  Actually - we manage quite well.

I brought what I've named the Salad of Summer 2012,


 a chocolate torte from Oh She Glows,


 and my latest creation.... Peach Custard Pie - diary, gluten and sugar free!

Gluten & Sugar Free Peach Custard Pie

by Denise Boyd Dunlop
Prep Time: 30 min
Cook Time: 30 min
Keywords: bake dessert gluten-free sugar-free vegetarian pie
Ingredients (serves 8)
    For the Crust
    • 1/2 cup walnuts
    • 1/2 cup gluten free oatmeal
    • 1/2 brown rice flour
    • 3 tablespoons apple juice
    • 2 tablespoons olive oil
    • 1 teaspoon cinnamon
    For the Custard
    • 1/4 cup splenda
    • 3 tablspoons corn starch
    • 2 1/4 cup milk (I used almond to make mine dairy free)
    • 2 teaspoons vanilla
    • 1 teaspoon cinnamon
    • 2 eggs
    For the toppings
    • 3 peaches peeled & sliced
    • juice from 1/2 lemon
    • 1/2 cup fresh blueberries
    Instructions
    For the Crust
    In a food processor, process walnuts and oats until mixture forms coarse crumbs. Add brown rice flour and blend together. Add wet ingredients and continue to process until mixture begins to form a ball.
    Gather dough together and press into a pie plate. Bake at 350 for 10-12 minutes or until edges are golden. Set aside and let cool.
    For the Custard
    In a pot whisk together splenda and corn starch. Stir in milk. Heat milk mixture until it begins to thicken and coats the back of a spoon. Remove from heat. In a medium bowl, beat eggs. Continue to stir eggs while pouring in about half of the milk mixture. Stir well. Repeat the process adding the egg and milk mixture back to the remaining mixture in the pot. This process prevents the eggs from 'cooking' in pieces and creates a smooth custard.
    Return the pot to the stove and continue to cook the pudding on the stove over medium heat stirring constantly. Once the custard has reached the desired consistency remove from the stove. Stir in the vanilla and cinnamon.
    Pour the custard into the cooled pie crust. Place a piece of plastic wrap or parchment paper directly on the custard to prevent from forming a skin. Allow custard to cool completely.
    Putting it all together
    Toss the peeled peaches in the lemon juice to prevent them from browning. Arrange the peaches and blueberries on the custard. Chill until ready to serve.
    Powered by Recipage

    Saturday 4 August 2012

    Bar-b-qued Pizza

    A couple of weeks ago, I posted a grilled pizza in my What I Ate Wednesday post.  I've being making grilled pizza for a few years now and it has become a summer time staple at our house.

    These pizzas are perfect for families or groups with different topping preferences as each pizza can easily be customised.  Here are a few tips that make grilled pizza much easier to prepare that I've picked up.

    You can either buy pre-made dough or make your own.  If you have a bread machine you can pre-program the machine to have the dough ready for when you get home from work - I do this a lot.  I've included my favourite recipe for pizza dough.

    I like grilled vegetables on my pizza and included instructions, but you can feel free to use whatever toppings you like.

    So onto the tips...

    1 - Divide and shape your dough in the kitchen before you head out to the grill. 


    2 - Lightly coat your dough with oil.  Unless you have a very well seasoned grill, your pizza dough will stick to the grill and you will have a giant mess and you will probably be cursing me for suggesting to place uncooked dough on the bar-b-que racks.

    3 - Have all of your toppings ready before you place your dough on the racks.  The dough cooks quickly and your life will be much easier if you aren't running inside on out grabbing ingredients.  Plus you will feel a bit like a cooking show host with all your little prep bowls at the ready... or is that just my daydream.


    4 - Once you're ready to grill, make sure you have plenty of space between the individual pizzas to flip and to ensure the edges of your dough are cooked.


    5 - After you've flipped the pizza dough so the cooked side is up, move quickly.  It doesn't take long to cook the bottom and you run the risk of burning the dough.  Once the toppings are on, closed the lid so your bar-b-que heats like an oven.


    6 - Enjoy your efforts - when it comes to cooking in the summer, there is nothing I enjoy more than being outside.

    Bar-b-qued Pizza

    by Denise Boyd Dunlop
    Prep Time: 1 1/2 hours if making your own
    Cook Time: 15 minutes
    Keywords: grill entree
    Ingredients (serves 6-8)
      For the dough
      • 1 1/2 cups water
      • 1 tablespoon sugar
      • 2 tablespoons olive oil
      • 1 1/2 teaspoons sea salt
      • 4 1/4 cups flour
      • 2 teaspoons yeast
      For the Toppings
        Grilled Veggies
        • 1/2 red pepper chopped
        • 1/2 sweet onion chopped
        • 1/2 cup mushrooms halved
        • 1 tablespoon olive oil
        • 1 teaspoon sea salt
        • juice from 1/2 lemon
        • shredded mozzarella cheese
        • crumbled feta cheese
        • tomato sauce
        Instructions
        For the the dough

        Place the dough ingredients in the order given into your bread machine. Select the dough setting. When dough is finished remove from bread machine, lightly coat with olive oil and place in a bowl, let rest for 15 minutes.
        For the Grilled Vegetables

        Preheat grill and grill basket to 450 degrees. Toss vegetables, olive oil, salt and lemon juice in a bowl. Pour vegetables into basket and spread evenly. Stir vegetables every 2-5 minutes closing lid on grill each time. Remove from heat once the vegetables are softened and beginning to brown at the edges - about 7-10 minutes.
        To make the pizza

        Preheat bar-b-que to 450. Shape the dough into individual pizzas, 6 - 8 small disks. Make sure that each piece is lightly coated with oil to ensure the dough does not stick to the grill. Place dough directly on the grill and close the bar-b-que lid. Once the bottom of the dough has cooked - about 5 minutes, flip each pizza over so the uncooked side is facing the coals.
        Working quickly, spread the sauce on the cooked side of the dough. Add toppings and close the bar-b-que lid. Remove from heat once the bottom of the pizza is cooked and the cheese has melted - about 5 minutes.
        Powered by Recipage